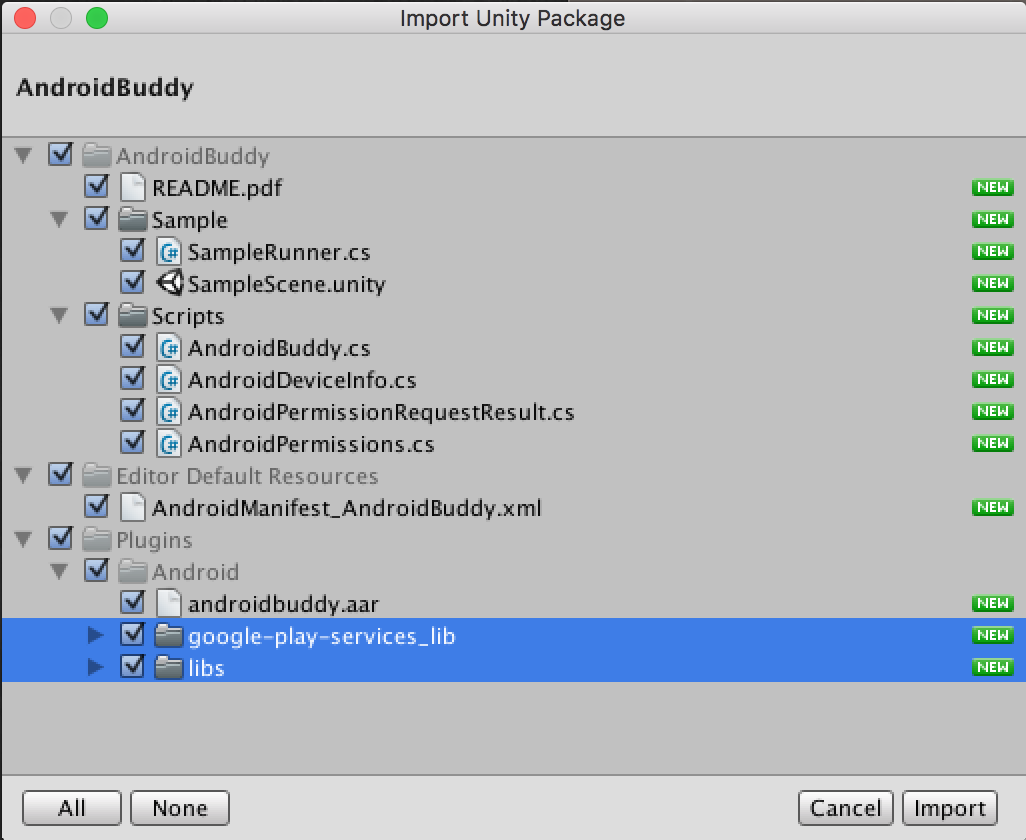
For ease of integration, we've included Google Play Service and android-support-v4. However, if you already have this in your project, be sure to deselect at time of import .
No need to drag and drop Prefabs, attach scripts or any poo like that - AndroidBuddy comes with no sticky strings attached. Simply start referencing AndroidBuddy.Instance in your code and we'll add what we need to your scene at runtime. Many have said, "It's like magic".
We've included a template manifest located in Assets/Editor Default Resources. If you do not already have your own AndroidManifest simply move it to Assets/Plugins/Android and rename it to AndroidManifest.xml.
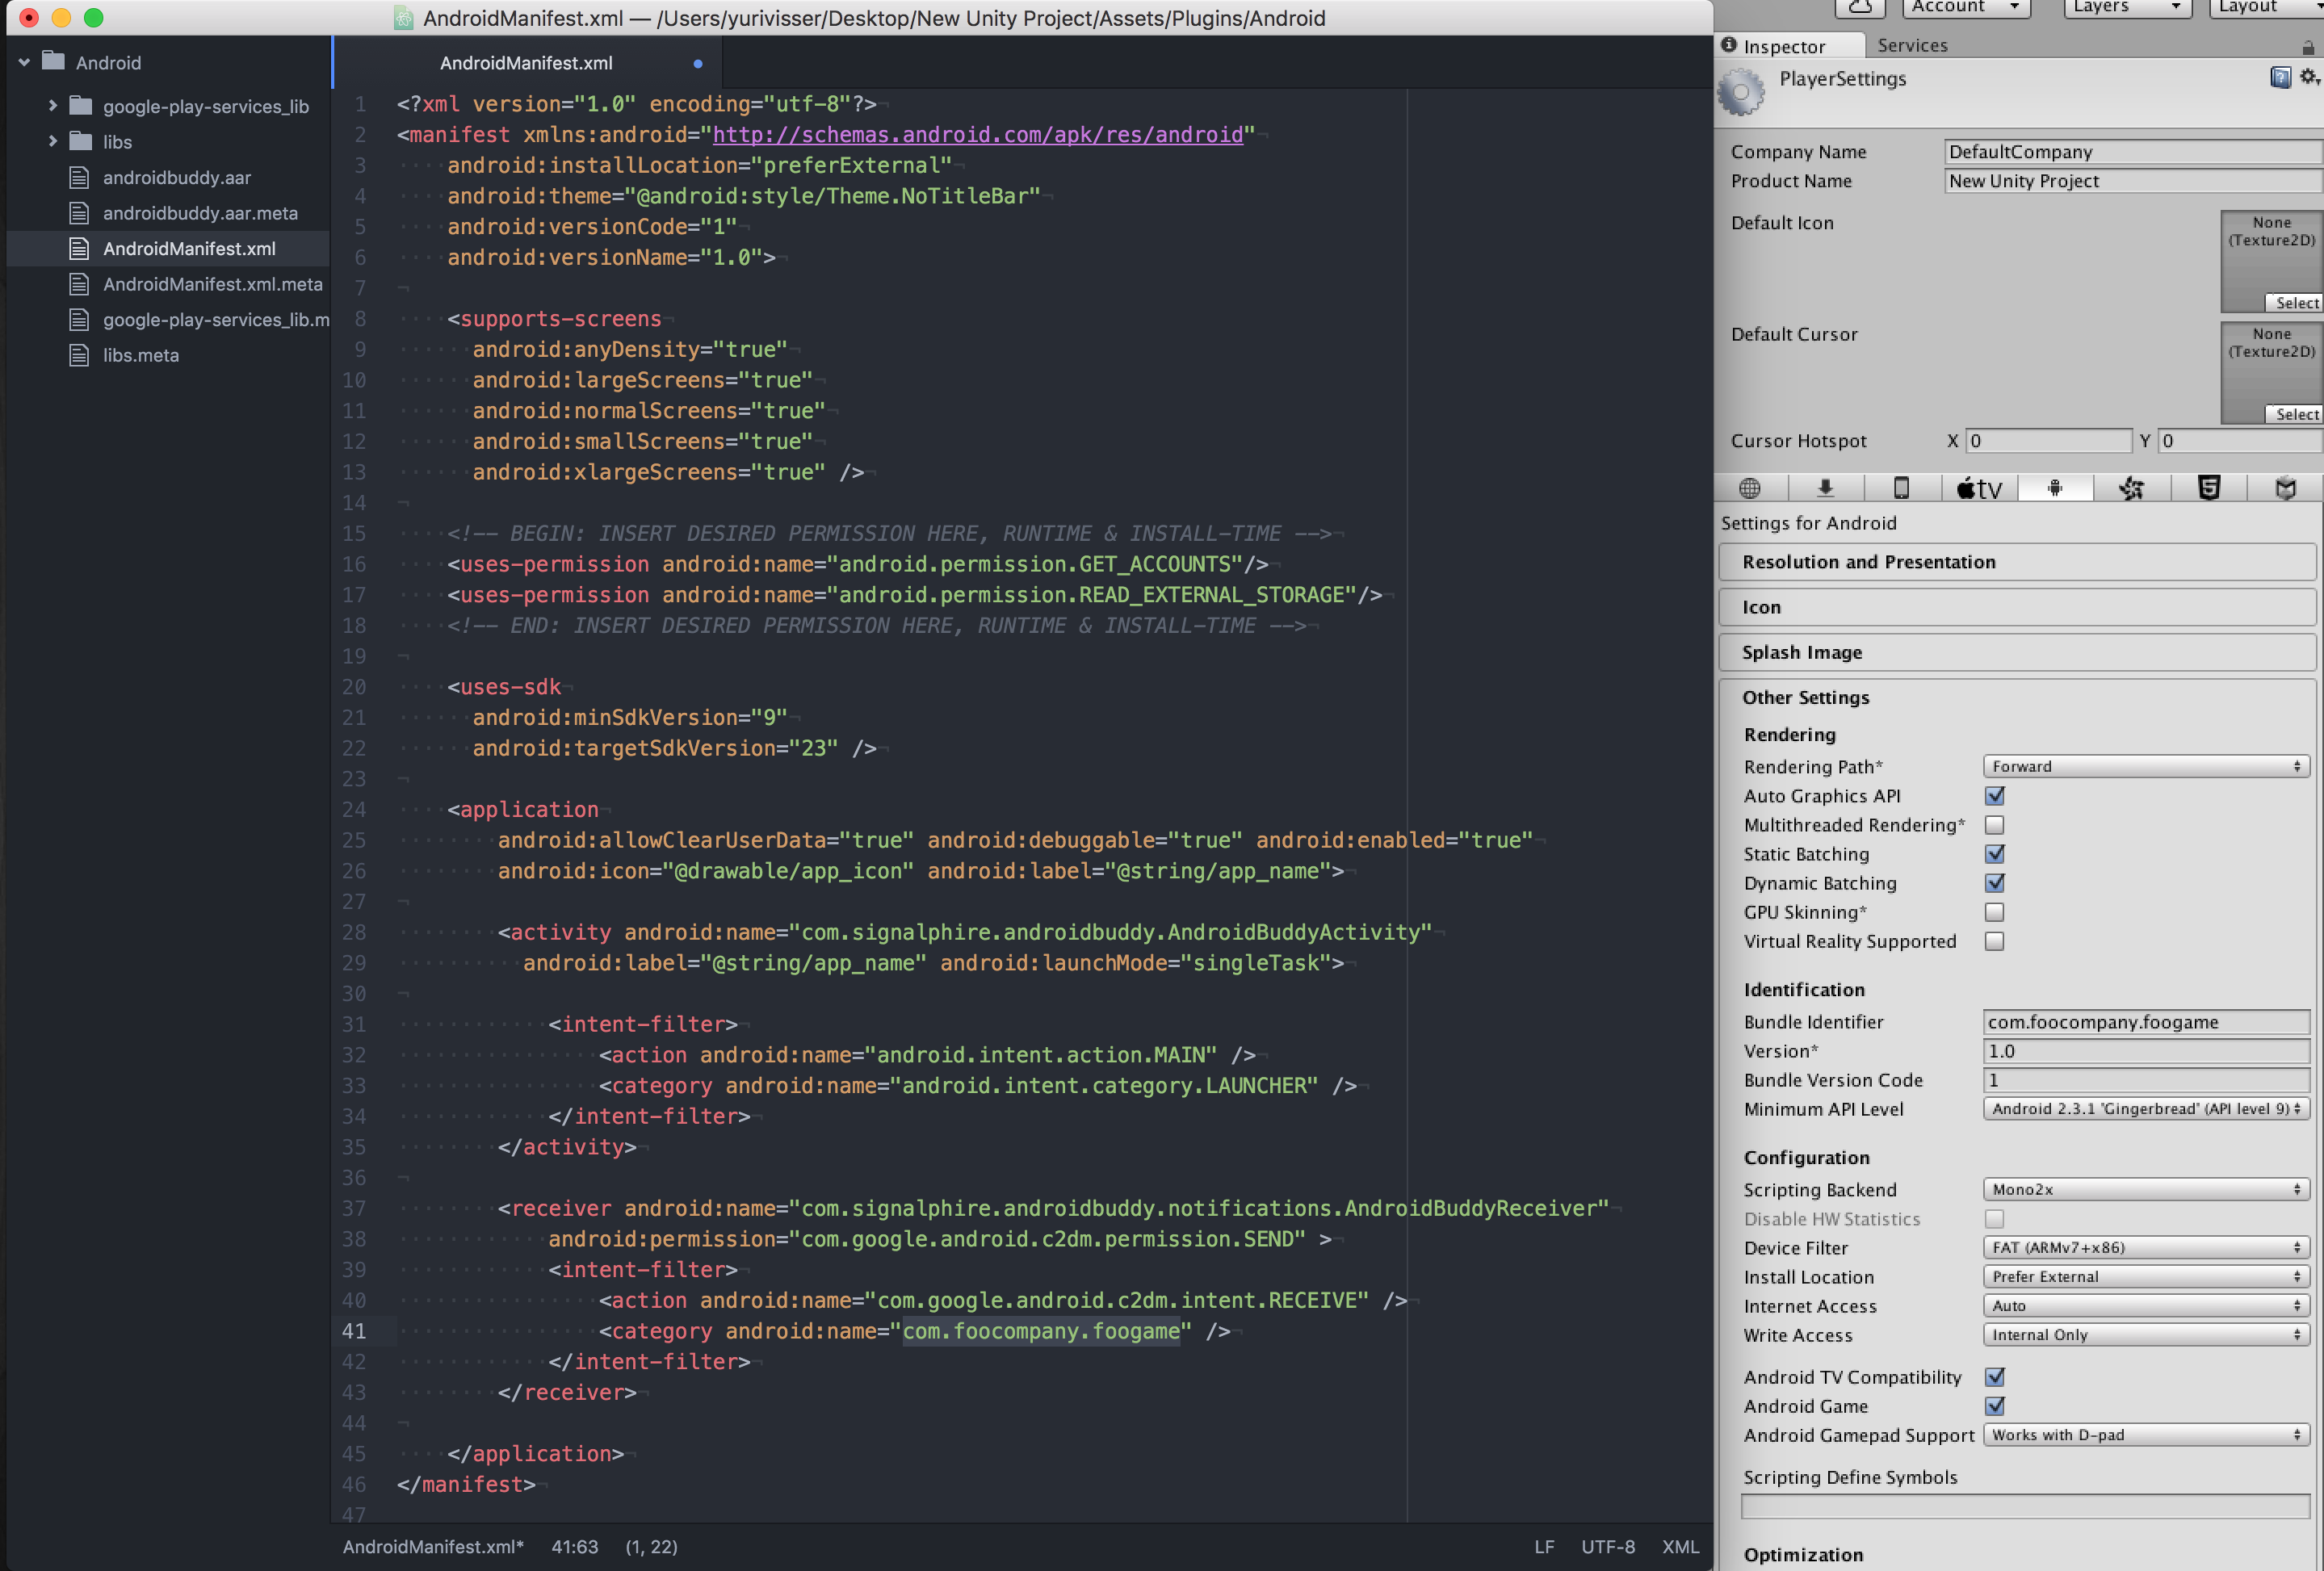
Add desired Android uses-permission permissions in the area indicated by the comments.
If you already have your own Manifest, with no custom Activity class, things should be fine if you change the main activity in your existing AndroidManifest to
<activity android:name="com.signalphire.androidbuddy.AndroidBuddyActivity"
Next, change the <category android:name="<$package_name>" /> value to your package name, as show in this image:
As an advanced option, you can also extend AndroidBuddyActivity - in this case replace public const string ROOT_ACTIVITY_NAME = "com.signalphire.androidbuddy.AndroidBuddyActivity"; in AndroidBuddy.cs, with the package and name of your activity.